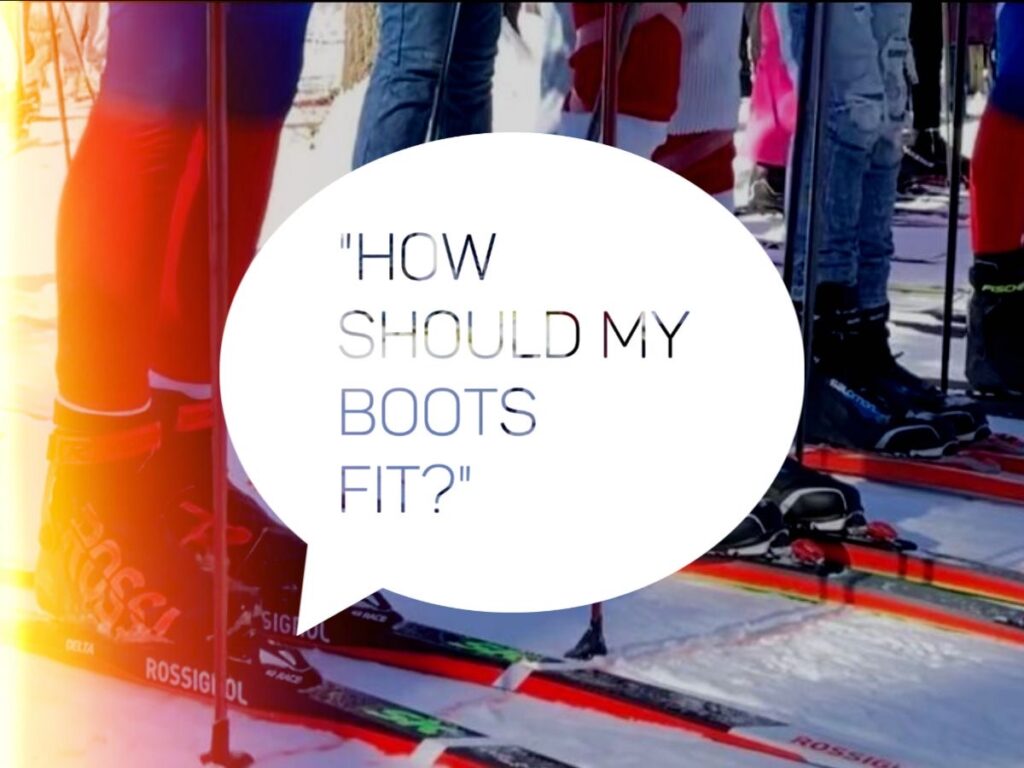
HINT: Not like a downhill boot, and not like a loafer. Your foot has to have a bit of space to expand as your body warms up, but also needs to be firmly held to give you control over the skis.
Buying new nordic ski boots doesn’t have to be a daunting task. Follow these guidelines for getting the perfect fit!
Step 1.) Start with the right size.
Sounds simple, right? In reality, very few XC boots are labeled with US sizing. Instead, they come in European sizes, and the corresponding US size can sometimes be hard to find. Moreover, the Euro size in one brand (let’s say a 44) may equate to differing US sizes, depending on the brand (Salomon is a Men’s 10, Fischer is a 10.5).
What to do? The easiest answer is to pick up the phone and talk to an experienced boot fitter at a reputable nordic ski shop. The crew at XC Ski HQ, who fits hundreds of XC skiers every year (in person and over the phone), has intimate knowledge of boot sizing across different brands, and will quickly help hone you in in on the right size. Otherwise, if you can’t make it to a ski shop or call them directly, do your best to reference sizing charts by the manufacturers to select your size.
Oh – and a tip on ordering online: Order the size boot you usually wear in the rest of your footwear. If you usually wear a 10, but every once in a while wear a 9.5 or 10.5, order a 10. Note that you do not have to go up a size to accommodate a thicker sock – the boot makers have already taken that into consideration!
Step 2.) Try it on.
Okay – whether you’re in a ski shop, or you just received your boots in the mail, it’s time to try them on. As you go to try on your boots for the first time, make sure the laces are loose and that you’re wearing a light or medium weight wool sock, just like the kind you’d ski in.
Once you get your foot into the boot, gently bang the back of your heel on the floor to really set your heel into the heel pocket of the boot, then lace them up nice and snug. This is the most commonly missed step we see when fitting people in the shop, and it makes all the difference for boot fit, because it gives you the true length of the boot.
A good rule of thumb: The boots should be snug, but not too short.
Over the first few months of skiing in your new boots, they will break in on the sides, widening anywhere there was a little extra pressure initially. The boots will not, however, get longer over time.
(Hint: Some brands make a women’s specific fit, which is a little narrower.)
Step 3.) Walk around!
Put both boots on, using the above method, and just walk around for few minutes! Often times, this will help acclimate your foot to the boot and they can get to know each other a little better. They are, after all, entering into a relationship!
As you flex your boot, emulating the action of skiing, notice how much your heel lifts off the sole of the boot. A little lift is expected and fine. but if your heel is lifting an inch or more, the boots are too big and you’ll get blisters. OUCH!
Just remember the Pink Floyd song “Comfortably Snug”. Boots that don’t feel at least a little snug initially might end up being too loose by the end of your first season.
Extras:
If you have bunions or other abnormalities, do not fear! There are ways to accommodate these peculiarities as well. Most Nordic boots can be thermo-molded, and you can actually do it at home if you have patience and a blow-dryer.
Here at XC Ski HQ, we’ve been getting peoples’ feet into the right boots for decades, and we love to share our knowledge! We carry multitudes of brands and styles, and know each of them inside and out. Give us a call and we’ll walk you through the whole deal!

